29
04月
2025
下载链接:https://github.com/rabbitmq/erlang-rpm/releases/tag/v27.3.2
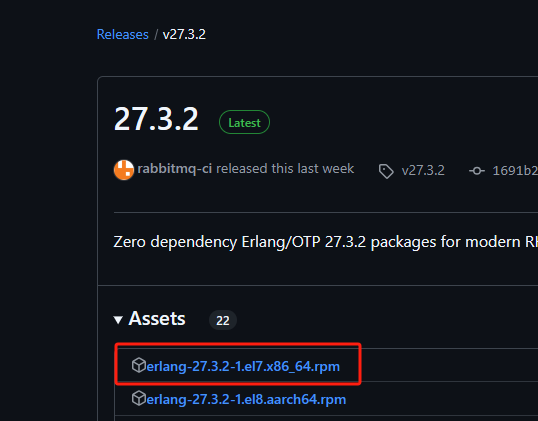 安装erlang :
#安装rpm包
rpm -ivh erlang-26.2.5.2-1.el7.x86_64.rpm
#查看安装后真实版本号
erl -eval '{ok, Version} = file:read_file(filename:join([code:root_dir(), "releases", erlang:system_info(otp_release), "OTP_VERSION"])), io:format("~s", [Version]), halt().' -noshell
安装rabbitmq
下载链接:https://www.rabbitmq.com/docs/install-rpm#downloads
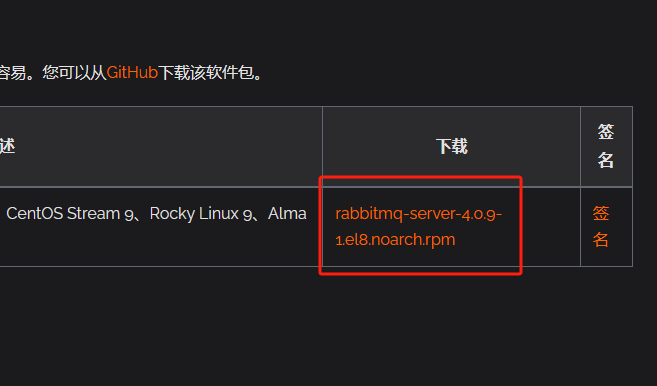
安装rabbitmq:
#安装rpm包
rpm -Uvh rabbitmq-server-4.0.9-1.el8.noarch.rpm
# 启动服务
systemctl start rabbitmq-server
# 设置开机启动
systemctl enable rabbitmq-server
# 查看状态
rabbitmqctl status
# 启用管理插件
rabbitmq-plugins enable rabbitmq_management
# 创建管理员用户(示例)
rabbitmqctl add_user admin your_password
# 分配角色身份为administrator
rabbitmqctl set_user_tags admin administrator
#授权所有权限
rabbitmqctl set_permissions -p / admin ".*" ".*" ".*"
#开放默认端口 需要确保服务器防火墙打开这些端口
firewall-cmd --permanent --add-port={5672/tcp,15672/tcp}
#重载配置
firewall-cmd --reload
#访问管理界面
http://服务器IP:15672
#查看用户列表
rabbitmqctl list_users安装pecl
#查看安装版本  有返回就说明已安装 就不需要安装了
pecl version
#下载安装版本
curl -O https://pear.php.net/go-pear.phar
#执行安装脚本  选择安装路径推荐选1 然后enter
sudo php -d detect_unicode=0 go-pear.phar
#添加环境变量
echo 'export PATH=$PATH:/path/to/pear' >> ~/.bashrc && source ~/.bashrc
安装 PHP 扩展
#安装amqp扩展
pecl install amqp
#启用扩展 后面的路径要换成服务器的php.ini路径
echo "extension=amqp.so" >> /path/to/php.ini
#项目安装php-amqplib库
composer require php-amqplib/php-amqplib
php添加 RabbitMQ 配置
'rabbitmq' => [
    'host'     => 'localhost',   // RabbitMQ服务器IP
    'port'     => 5672,          // 默认AMQP端口
    'user'     => 'admin',       // 用户名字
    'password' => 'your_password',
    'vhost'    => '/',           // 虚拟主机
]
RabbitMQ 新建队列以及绑定交换机
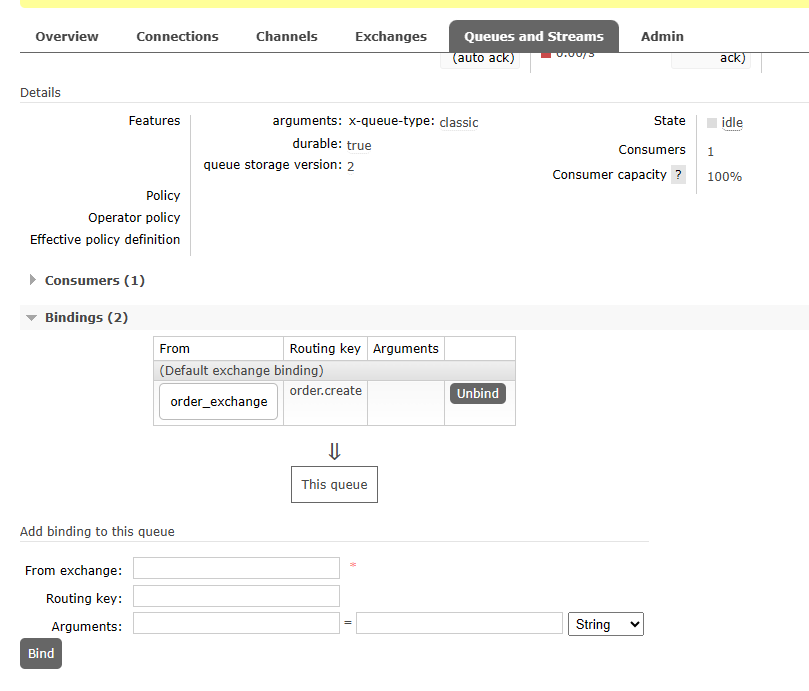
交换机 与 队列 通过 Routing key 路由键绑定,才能正常使用
php新建RabbitMQ 类
<?php
namespace app\common\library;
use PhpAmqpLib\Connection\AMQPStreamConnection;
use PhpAmqpLib\Message\AMQPMessage;
use PhpAmqpLib\Channel\AMQPChannel;
use Exception;
class RabbitMQ
{
/**
* RabbitMQ 连接实例
* @var AMQPStreamConnection|null
*/
private static $connection = null;
/**
* 通道实例
* @var AMQPChannel|null
*/
private $channel = null;
/**
* 单例模式获取连接(支持断线重连)
* @param array $config 配置参数
* @return AMQPStreamConnection
* @throws Exception
*/
public static function getConnection(array $config = []): AMQPStreamConnection
{
if (self::$connection === null || !self::$connection->isConnected()) {
$defaultConfig = Config('rabbitmq');//之前加的配置文件
$config = array_merge($defaultConfig, $config);
try {
self::$connection = new AMQPStreamConnection(
$config['host'],
$config['port'],
$config['user'],
$config['password'],
$config['vhost']
);
} catch (Exception $e) {
throw new Exception("RabbitMQ 连接失败: " . $e->getMessage());
}
}
return self::$connection;
}
/**
* 初始化通道
* @return AMQPChannel
* @throws Exception
*/
public function initChannel(): AMQPChannel
{
$this->channel = self::getConnection()->channel();
return $this->channel;
}
/**
* 生产消息
* @param string $exchange 交换机名称
* @param string $routingKey 路由键
* @param string $message 消息内容
* @param string $type 交换机类型(direct/fanout/topic)
* @param array $properties 消息属性(如持久化)
* @throws Exception
*/
public function produce(
string $exchange,
string $routingKey,
string $message,
string $type = 'direct',
array $properties = ['delivery_mode' => AMQPMessage::DELIVERY_MODE_PERSISTENT]
): void {
$this->initChannel();
// 声明交换机
$this->channel->exchange_declare($exchange, $type, false, true, false);
// 创建消息对象
$msg = new AMQPMessage($message, $properties);
// 发送消息
$this->channel->basic_publish($msg, $exchange, $routingKey);
}
/**
* 消费消息(需自行处理业务逻辑)
* @param string $queue 队列名
* @param string $exchange 绑定的交换机
* @param string $routingKey 路由键
* @param string $type 交换机类型
* @param callable $callback 消息处理回调函数
* @throws Exception
*/
public function consume(
string $queue,
string $exchange,
string $routingKey,
string $type = 'direct',
callable $callback
): void {
$this->initChannel();
// 声明交换机和队列
$this->channel->exchange_declare($exchange, $type, false, true, false);
$this->channel->queue_declare($queue, false, true, false, false);
$this->channel->queue_bind($queue, $exchange, $routingKey);
// 配置消费者
$this->channel->basic_consume($queue, '', false, false, false, false, $callback);
// 阻塞监听
while ($this->channel->is_consuming()) {
$this->channel->wait();
}
}
/**
* 关闭连接(析构时自动调用)
*/
public function __destruct()
{
if ($this->channel !== null) {
$this->channel->close();
}
if (self::$connection !== null) {
self::$connection->close();
}
}
}调用RabbitMQ 类
use app\common\library\RabbitMQ;
// 发送消息
try {
$rabbitmq = new RabbitMQ();
$rabbitmq->produce(
'order_exchange',
'order.create',
json_encode(['order_id' => 1001]),
'direct'
);
} catch (Exception $e) {
echo "消息发送失败: " . $e->getMessage();
}
// 消费消息
$callback = function ($msg) {
echo "收到消息: " . $msg->body . "\n";
/*
逻辑代码 数据库操作
*/
$msg->ack(); // 手动确认消息
};
try {
$rabbitmq = new RabbitMQ();
$rabbitmq->consume('order_queue', 'order_exchange', 'order.create', 'direct', $callback);
} catch (Exception $e) {
echo "消费异常: " . $e->getMessage();
}
thinkphp 命令类
// application/command 注册命令
app\admin\command\Consume //加一行
//创建Consume.php
<?php
namespace app\admin\command;
use think\console\Command;
use think\console\Input;
use think\console\input\Option;
use think\console\Output;
use think\console\input\Argument;
use app\common\library\RabbitMQ;
use think\Exception;
class Consume extends Command
{
protected function configure() {
$this->setName('Consume')
->addArgument('param1', Argument::REQUIRED, '参数描述')
->addOption('option1', null, Option::VALUE_REQUIRED, '选项描述');
}
protected function execute(Input $input, Output $output) {
$param1 = $input->getArgument('param1'); // 获取参数
$option1 = $input->getOption('option1'); // 获取选项
// 消费消息
$callback = function ($msg) {
/*
逻辑代码 数据库操作
*/
$msg->ack(); // 确认消息已被消费
};
try {
$rabbitmq = new RabbitMQ();
$rabbitmq->consume('order_queue', 'order_exchange', 'order.create', 'direct', $callback);
} catch (Exception $e) {
echo "消费异常: " . $e->getMessage();
}
}
}
//执行命令
php think Consume 123 --option1=456 //123代表参数param1 456代表参数option1
//也可不带参数 php think Consume非特殊说明,本文版权归 Code. 所有,转载请注明出处.
本文标题: linux+rabbitmq+thinkphp
延伸阅读
使用phpqrcode生成二维码 php图片打水印最新|与我有关